|
For example:
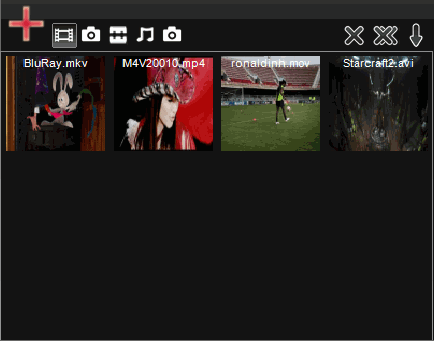
I have four video files, "M4V20010.mp4", "Starcraft2.avi", "ronaldinh.mov", "bluray.mkv", and twenty photos, I want to write some intro texts on them then share them with my family and friends on my TV, what is the easiest way? It's the best solution that use RZ Slideshow DVD Maker to make a special slideshow photo/video DVD from these video files and photos and then burn to a DVD disc.
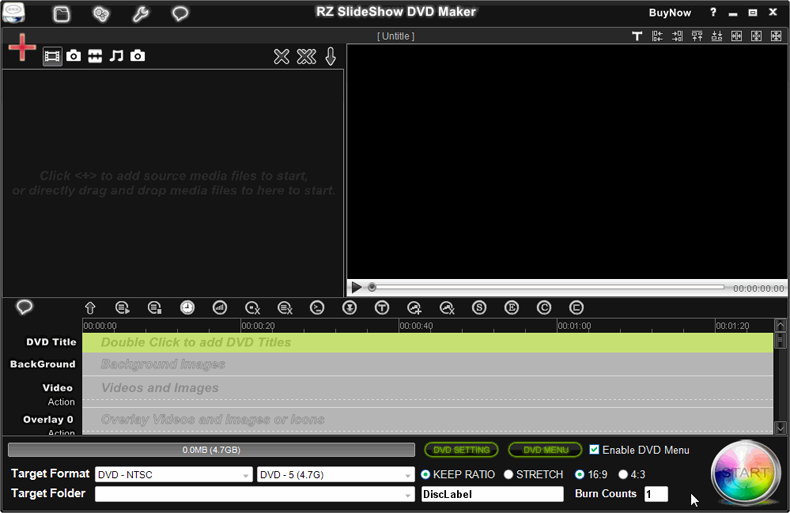
Step 1: Run RZ Slideshow DVD Maker
Step 2: Press "Videos " and "Add Local Files Button " and "Add Local Files Button " to add all source videos("M4V20010.mp4", "Starcraft2.avi", "ronaldinh.mov", "bluray.mkv") into RZ Slideshow DVD Maker, and you will view all videos in source file list, like below(please note, you also can directly drag and drop all video files into the software source file list via the mouse): " to add all source videos("M4V20010.mp4", "Starcraft2.avi", "ronaldinh.mov", "bluray.mkv") into RZ Slideshow DVD Maker, and you will view all videos in source file list, like below(please note, you also can directly drag and drop all video files into the software source file list via the mouse):
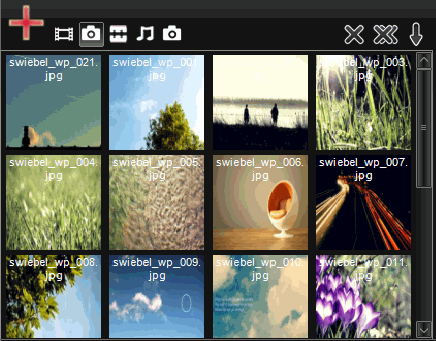
Step 3: Press "Images " and "Add Local Files Button" to add all source photos into RZ Slideshow DVD Maker, and you will view all photos in source file list, like below(please note, you also can directly drag and drop all video files into the software source file list via the mouse): " and "Add Local Files Button" to add all source photos into RZ Slideshow DVD Maker, and you will view all photos in source file list, like below(please note, you also can directly drag and drop all video files into the software source file list via the mouse):
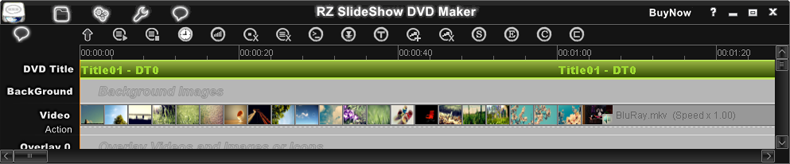
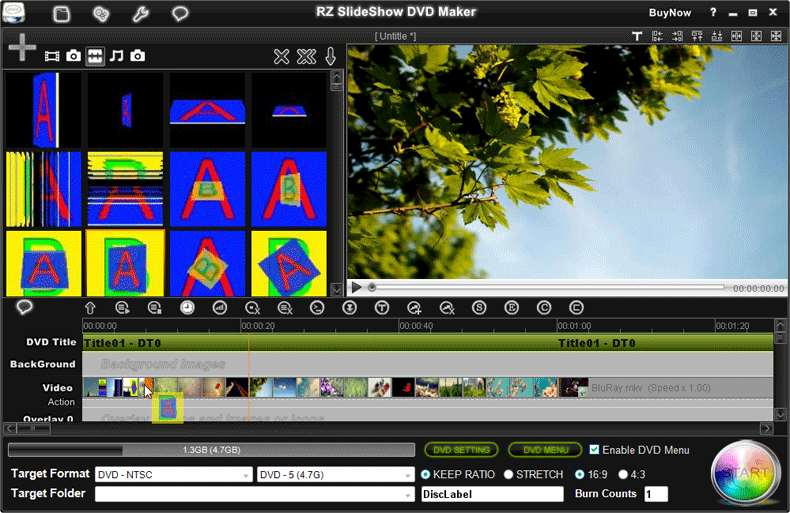
Step 4: Directly drag and drop all videos and photos from source file list into Timeline, or you can directly press "Add to TimeLine button " to add videos and phtos into Timeline's VideoLine from the source file list, then you will view them in Timeline area, like below: " to add videos and phtos into Timeline's VideoLine from the source file list, then you will view them in Timeline area, like below:
Step 5: If you want to create standard video DVD, you should select "DVD - NTSC", or "DVD - PAL" as Target format.
| |
Both NTSC and PAL are TV system, NTSC is the TV system used in North America and most of South America, PAL is the TV system mostly used Europe. |
| |
If you select "Divx-DVD-NTSC " or "Divx-DVD-PAL " or "Divx-DVD-PAL ", the program will create Divx Video DVD, it can set the higher video resolution than stanard video DVD, but it only be played on Divx/MPEG4 Certificate DVD Player. ", the program will create Divx Video DVD, it can set the higher video resolution than stanard video DVD, but it only be played on Divx/MPEG4 Certificate DVD Player. |
| |
If you select "Xvid-DVD-NTSC " or "Xvid-DVD-PAL " or "Xvid-DVD-PAL ", the program will create Xvid Video DVD, it can set the higher video resolution than stanard video DVD, but it only be played on Xvid/MPEG4 Certificate DVD Player. ", the program will create Xvid Video DVD, it can set the higher video resolution than stanard video DVD, but it only be played on Xvid/MPEG4 Certificate DVD Player. |
| |
You cann't add DVD menu when select Divx DVD or Xvid DVD as Target format. |
Step 6: Select a Target folder to save the DVD, you can directly select the computer dvd burner drive as target folder to burn DVD to DVD writable disc, or select "Save to folder..." as target folder to save the DVD on computer's hard drive as an Video DVD folder, or select "Save as ISO file..." as target folder to create a DVD ISO image file on computer's hard drive for future burning. And you should set the size of the target DVD, DVD-5(4.7G) or DVD-9(8.5G).
Step 7: Click "START button " to start make DVD from all added videos and photos. " to start make DVD from all added videos and photos.
Please Note:
1. RZ Slideshow DVD Maker provide hundreds of 2D/3D transition effects, you can press "Transition effects " to view all transition effects, and can directly drag and drop the transition effect into TimeLine between different videos or photos, like below: " to view all transition effects, and can directly drag and drop the transition effect into TimeLine between different videos or photos, like below:
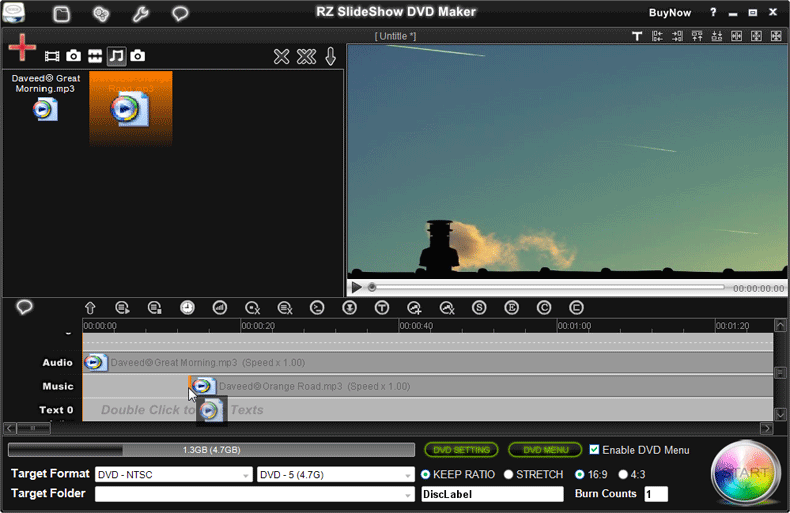
2. RZ Slideshow DVD Maker can add background musics/audios and dubbing, you can press "Audios " and "Add Local Files Button" to add source musics/audios and dubbing files into RZ Slideshow DVD Maker, then you can directly drag and drop the background musics/audios and dubbing into Timeline audio and music line, like below: " and "Add Local Files Button" to add source musics/audios and dubbing files into RZ Slideshow DVD Maker, then you can directly drag and drop the background musics/audios and dubbing into Timeline audio and music line, like below:
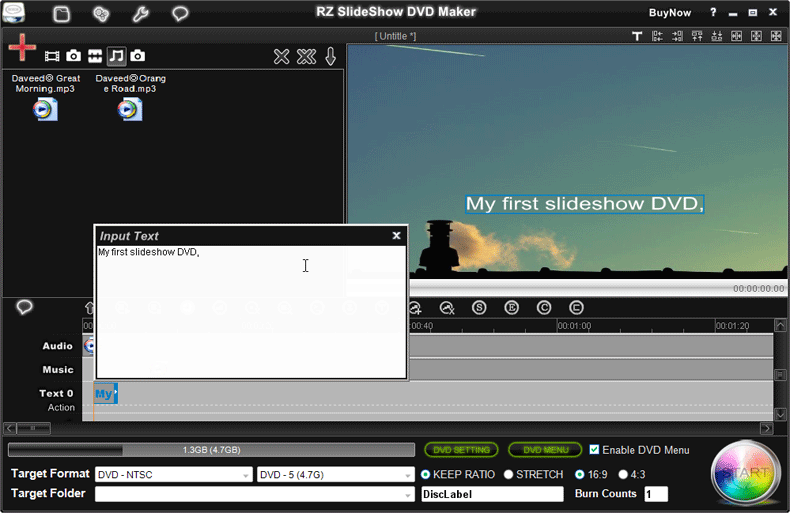
3. You can use the computer mouse to double click "Text" line in TimeLine area to add intro texts on the videos and photos, like below:
4. You can press "Open Subtitle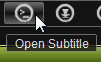 " to import subtitles on the DVDs from the separate subtitle files, such as *.srt subtitle files. " to import subtitles on the DVDs from the separate subtitle files, such as *.srt subtitle files.
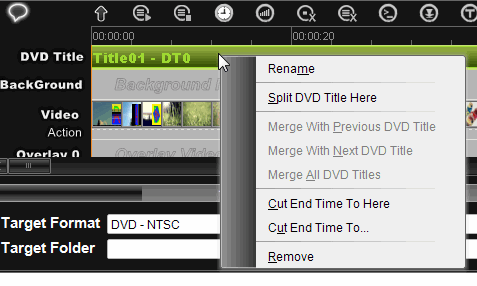
5. You can right click "DVD Title line" in TimeLine area to change the DVD Titles, such as, split dvd title, join/merge dvd titles, delete dvd title, cut dvd title, etc.(You can change DVD Chapters through add dvd chapter menu.)
6. You can right click item on Timeline area or press below buttons to edit the videos, photos, musics, texts, subtitles on Timeline area, such as, cut, crop, mix, join, speedup, speeddown, rotate, set font effect, change videos/audios volume, add special effect, add overlay videos or photos, etc.

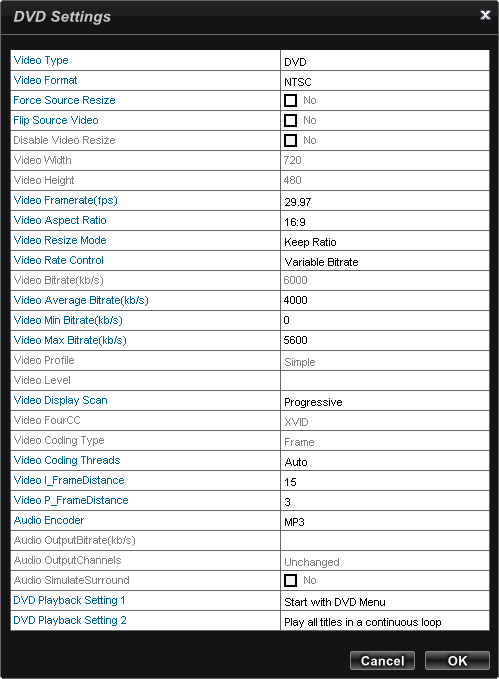
7. You can press "DVD SETTING button " to change output DVD setting, like below: " to change output DVD setting, like below:
8. You can press "DVD MENU button " to design DVD menu. " to design DVD menu.
|